# Flutter 集成iOS, Android
# 官方方法
首先我們需要兩樣元素
- Flutter module
- iOS Project
- Android Project (之後再研究)
# 1. Flutter module
建立一个 Flutter module
不支援swift? https://github.com/flutter/flutter/issues/53091
flutter create --template module my_flutter
需要先安裝依賴
cd my_flutter
flutter pub get
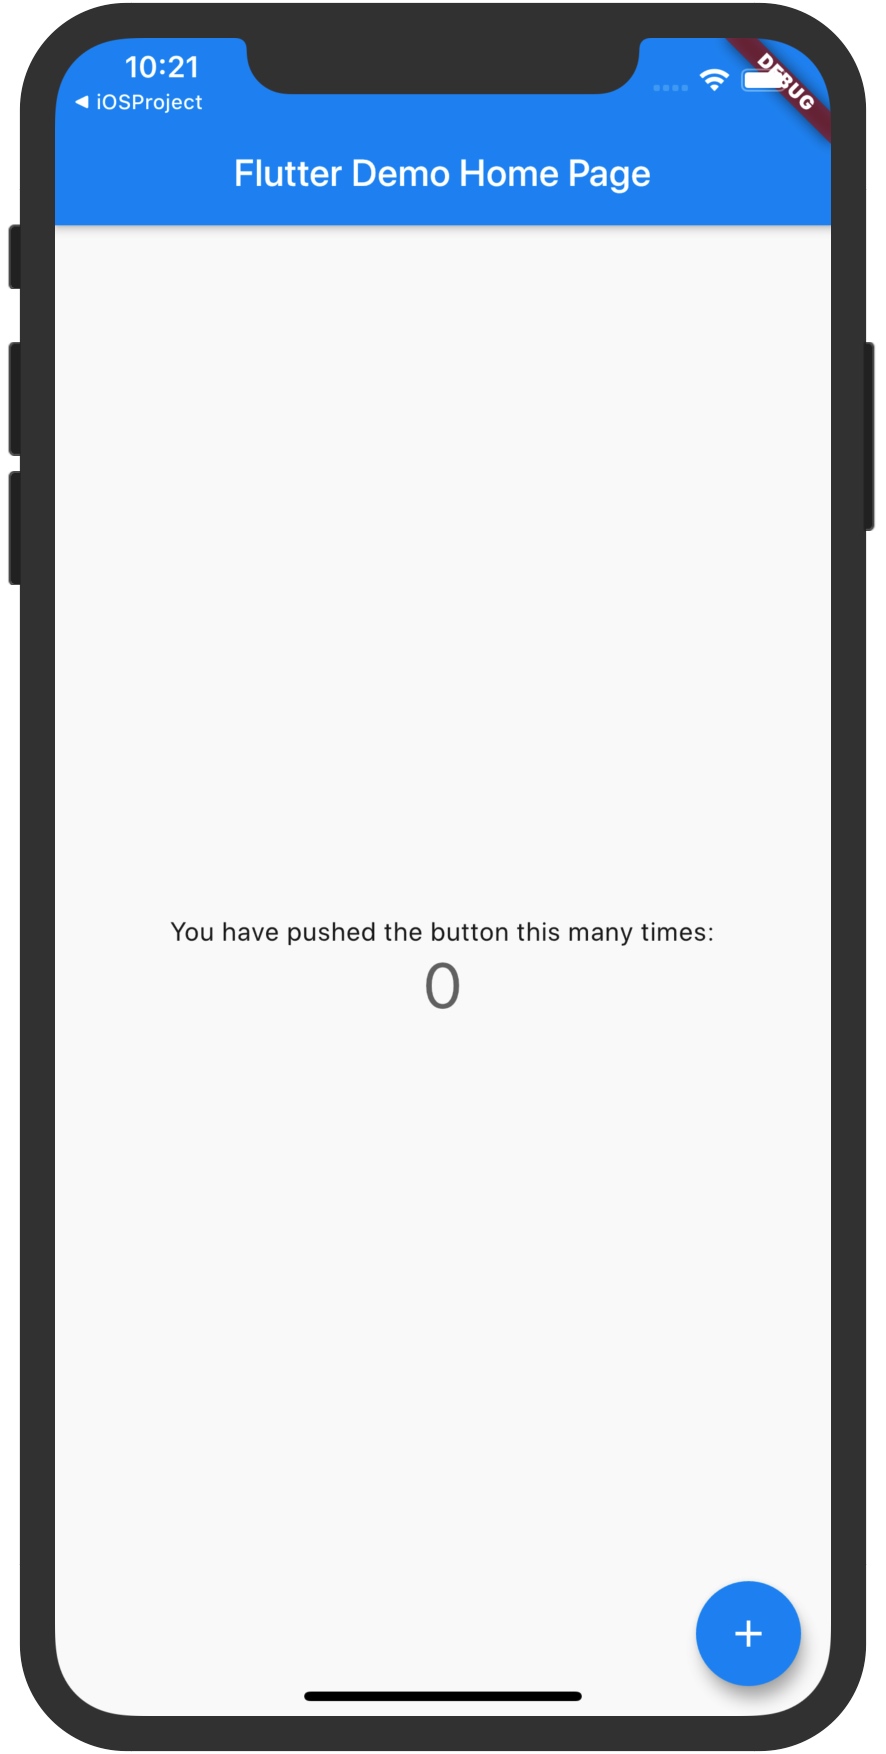
打開my_flutter的iOS Project, 嘗試run 看看是否正常
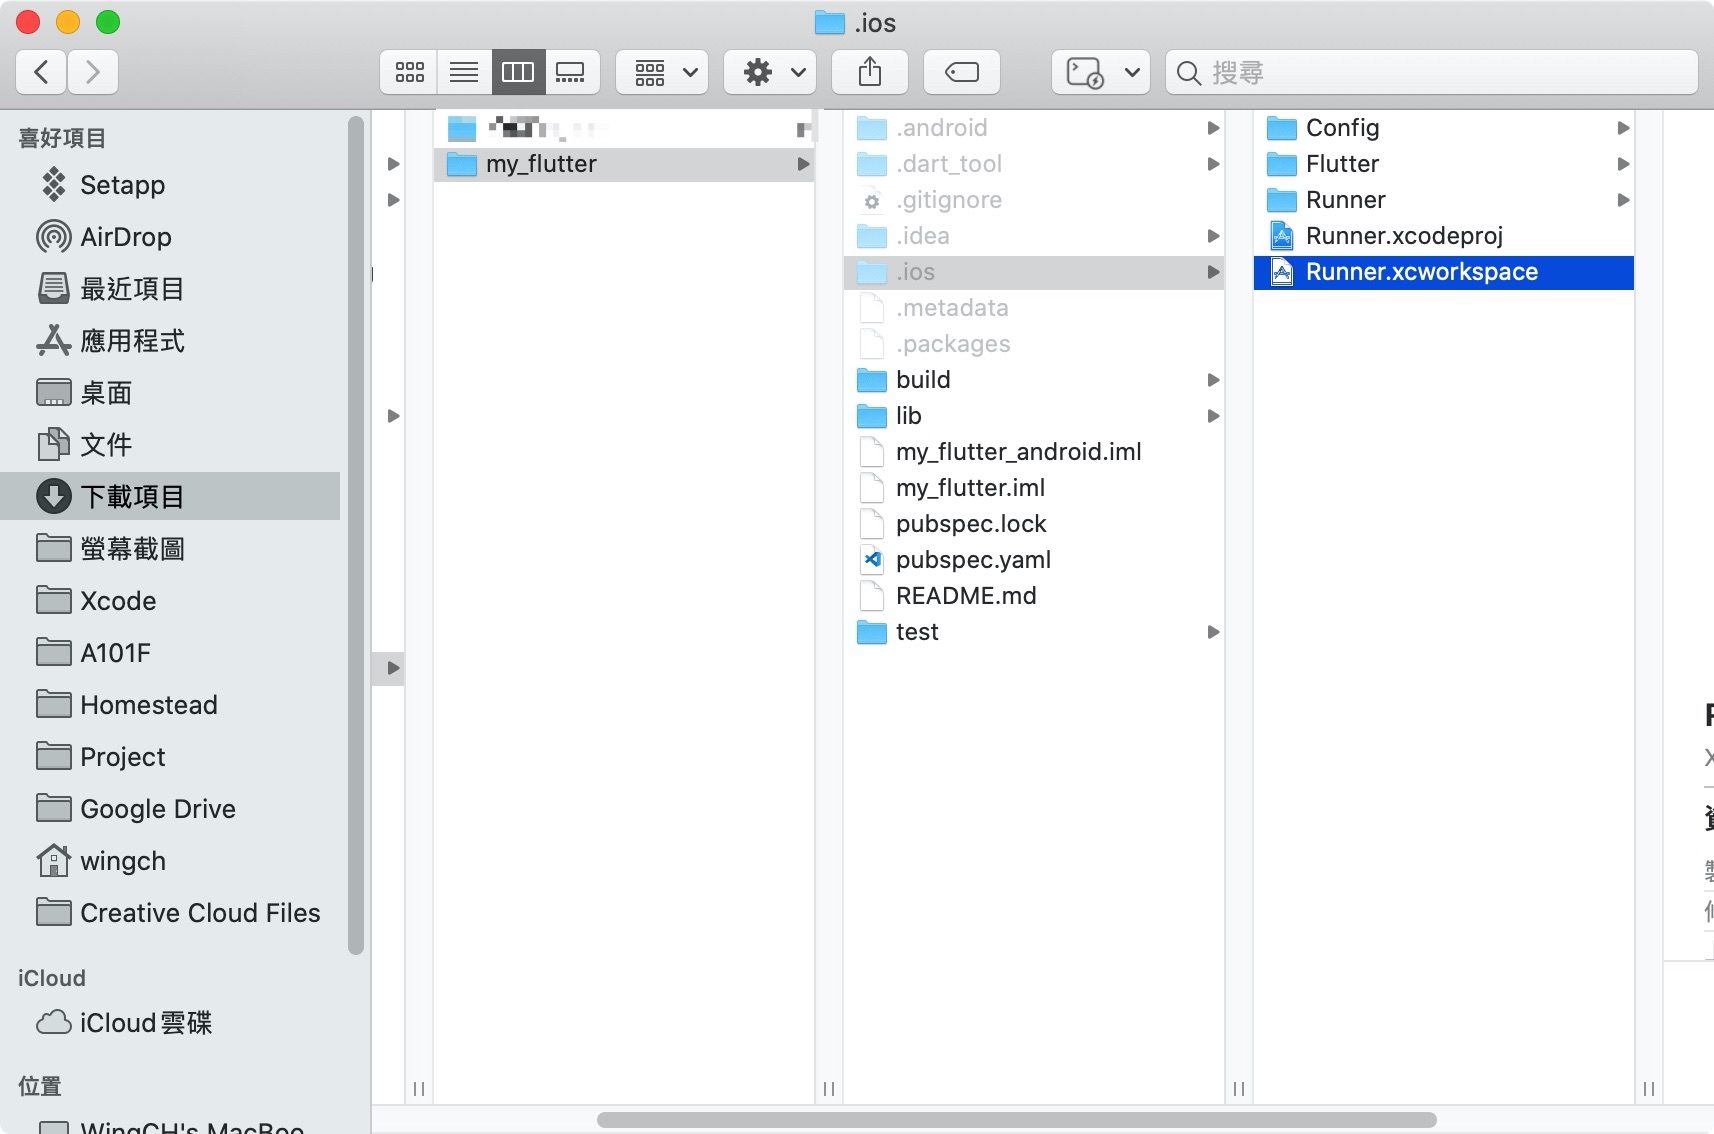
正常應該可以看到Flutter端的Counter example
# 2. iOS Project
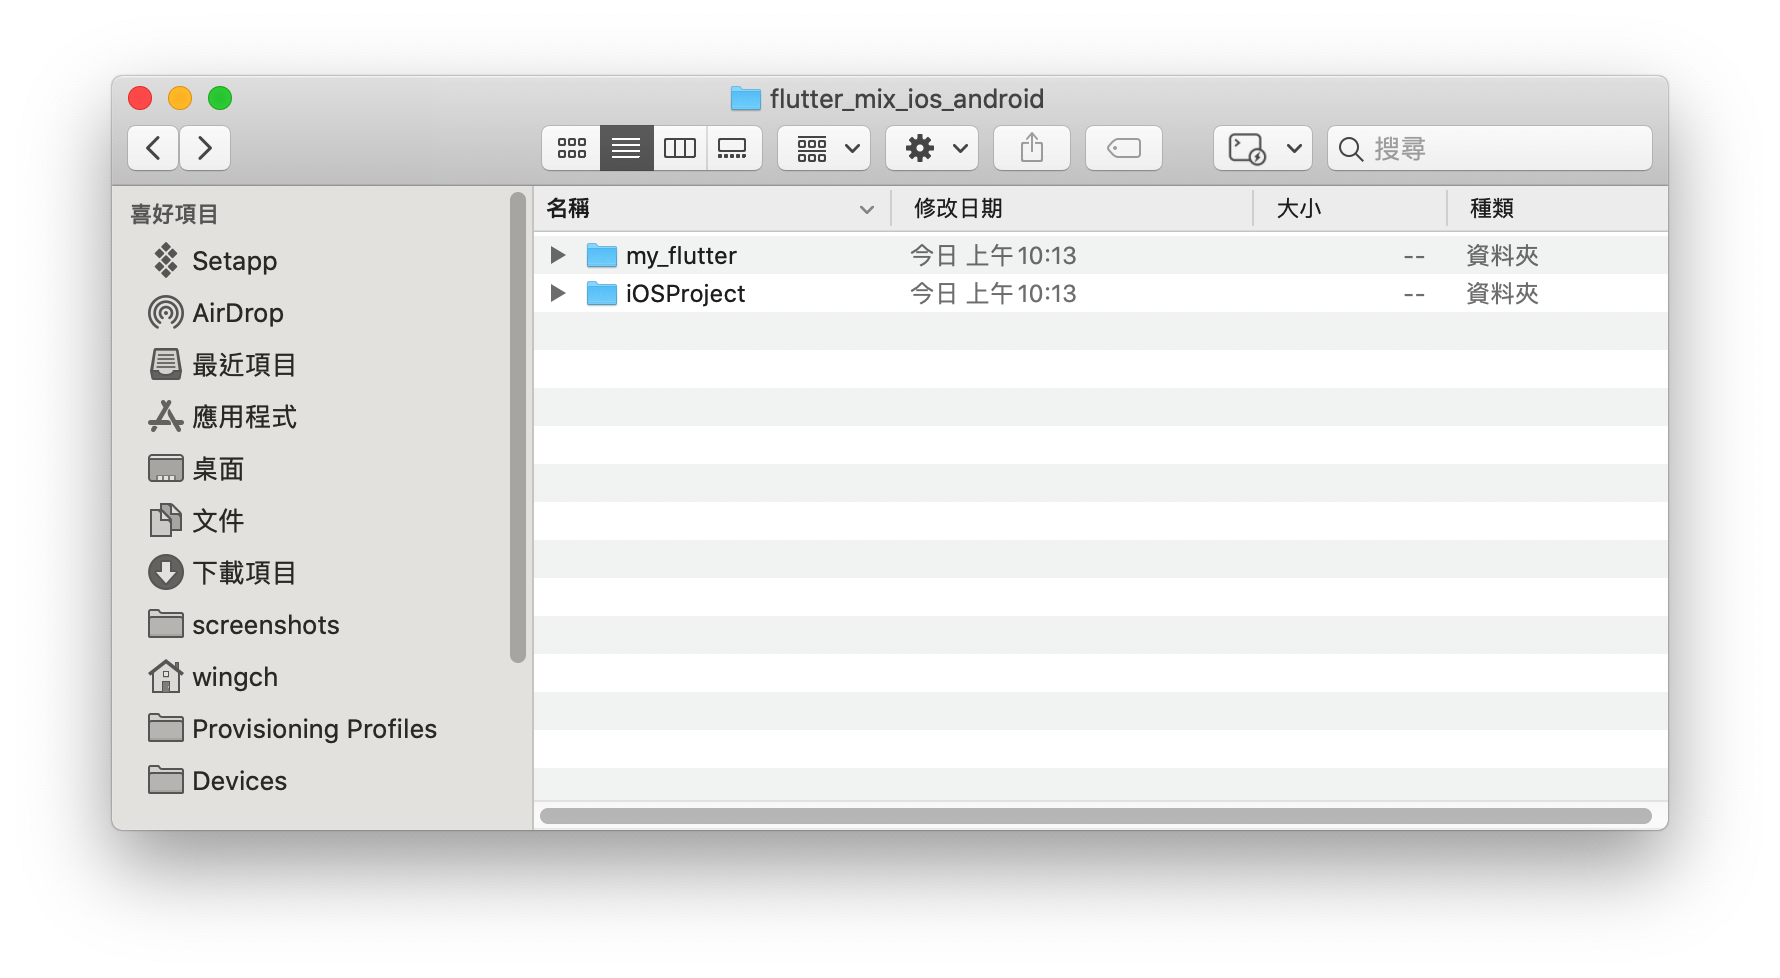
建立一個iOS Project, 放在同一層
有三種方法如下: (只需用其中一款)
# 2.1 使用 CocoaPods 和 Flutter SDK 集成
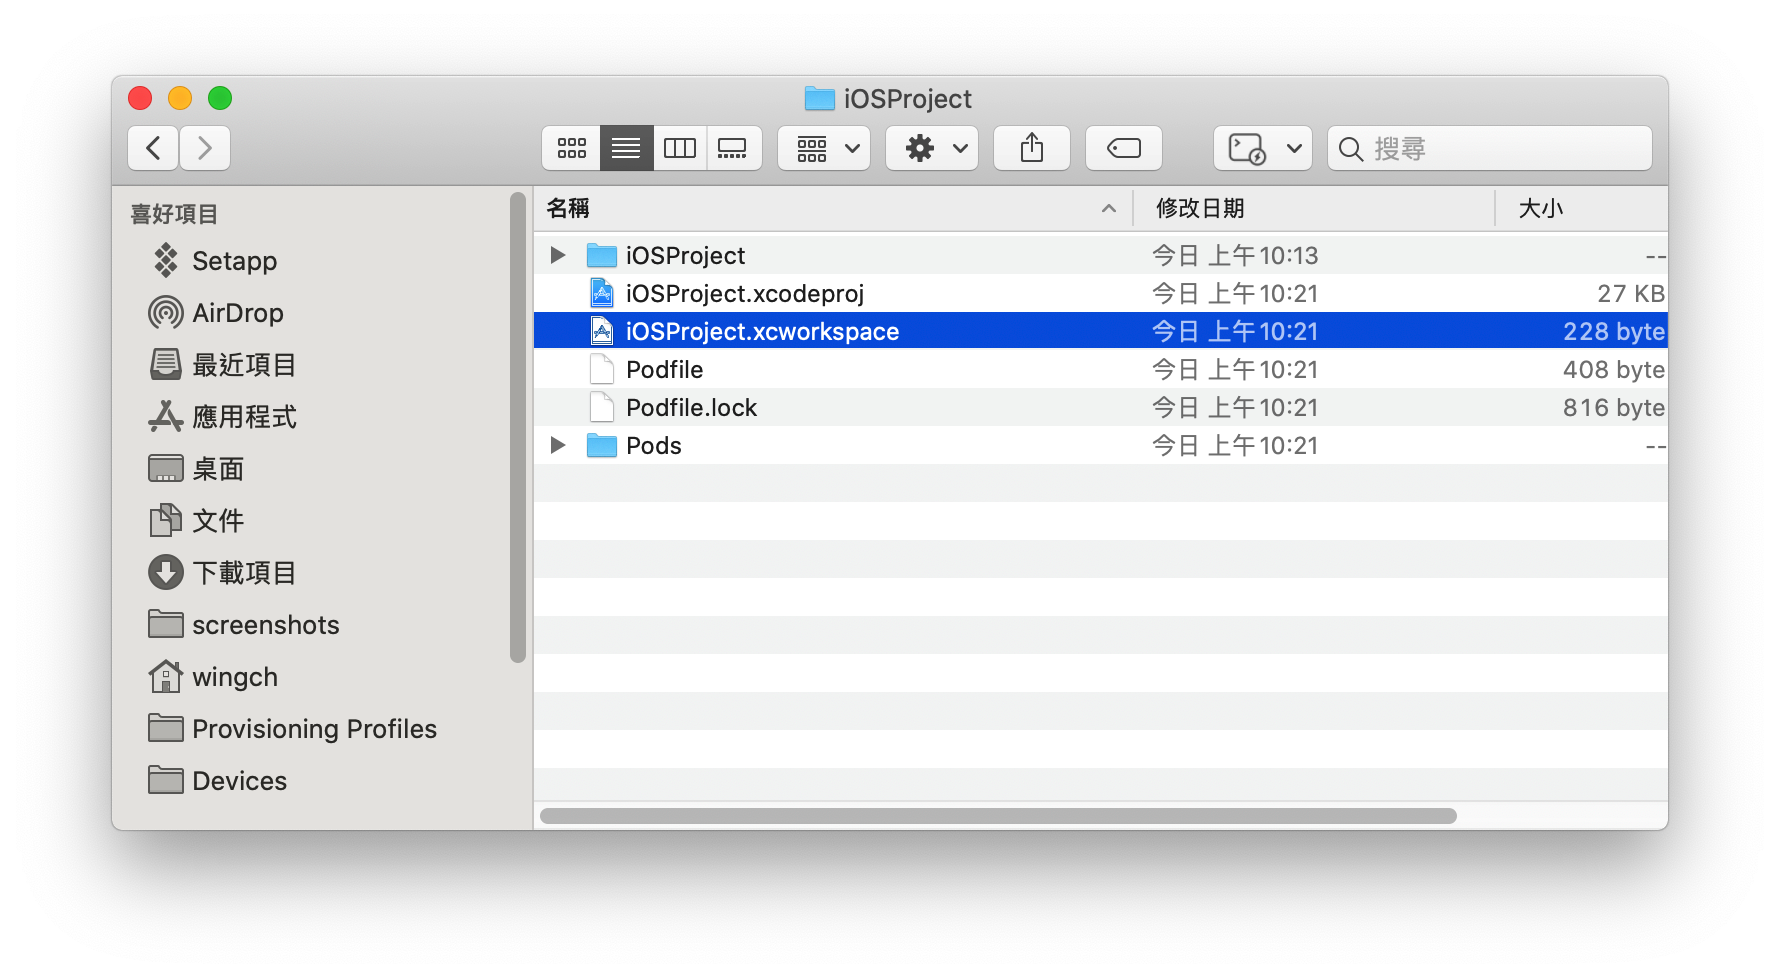
初始化CocoaPods, 會生成Podfile
cd iOSProject
pod init
ls

Podfile              iOSProject           iOSProject.xcodeproj
flutter_application_path = '../my_flutter'
load File.join(flutter_application_path, '.ios', 'Flutter', 'podhelper.rb')

target 'iOSProject' do
  # Comment the next line if you don't want to use dynamic frameworks
  use_frameworks!

  # Pods for iOSProject
  install_all_flutter_pods(flutter_application_path)

end
pod install

Analyzing dependencies
Downloading dependencies
Installing Flutter (1.0.0)
Installing FlutterPluginRegistrant (0.0.1)
Installing my_flutter (0.0.1)
Generating Pods project
Integrating client project
...
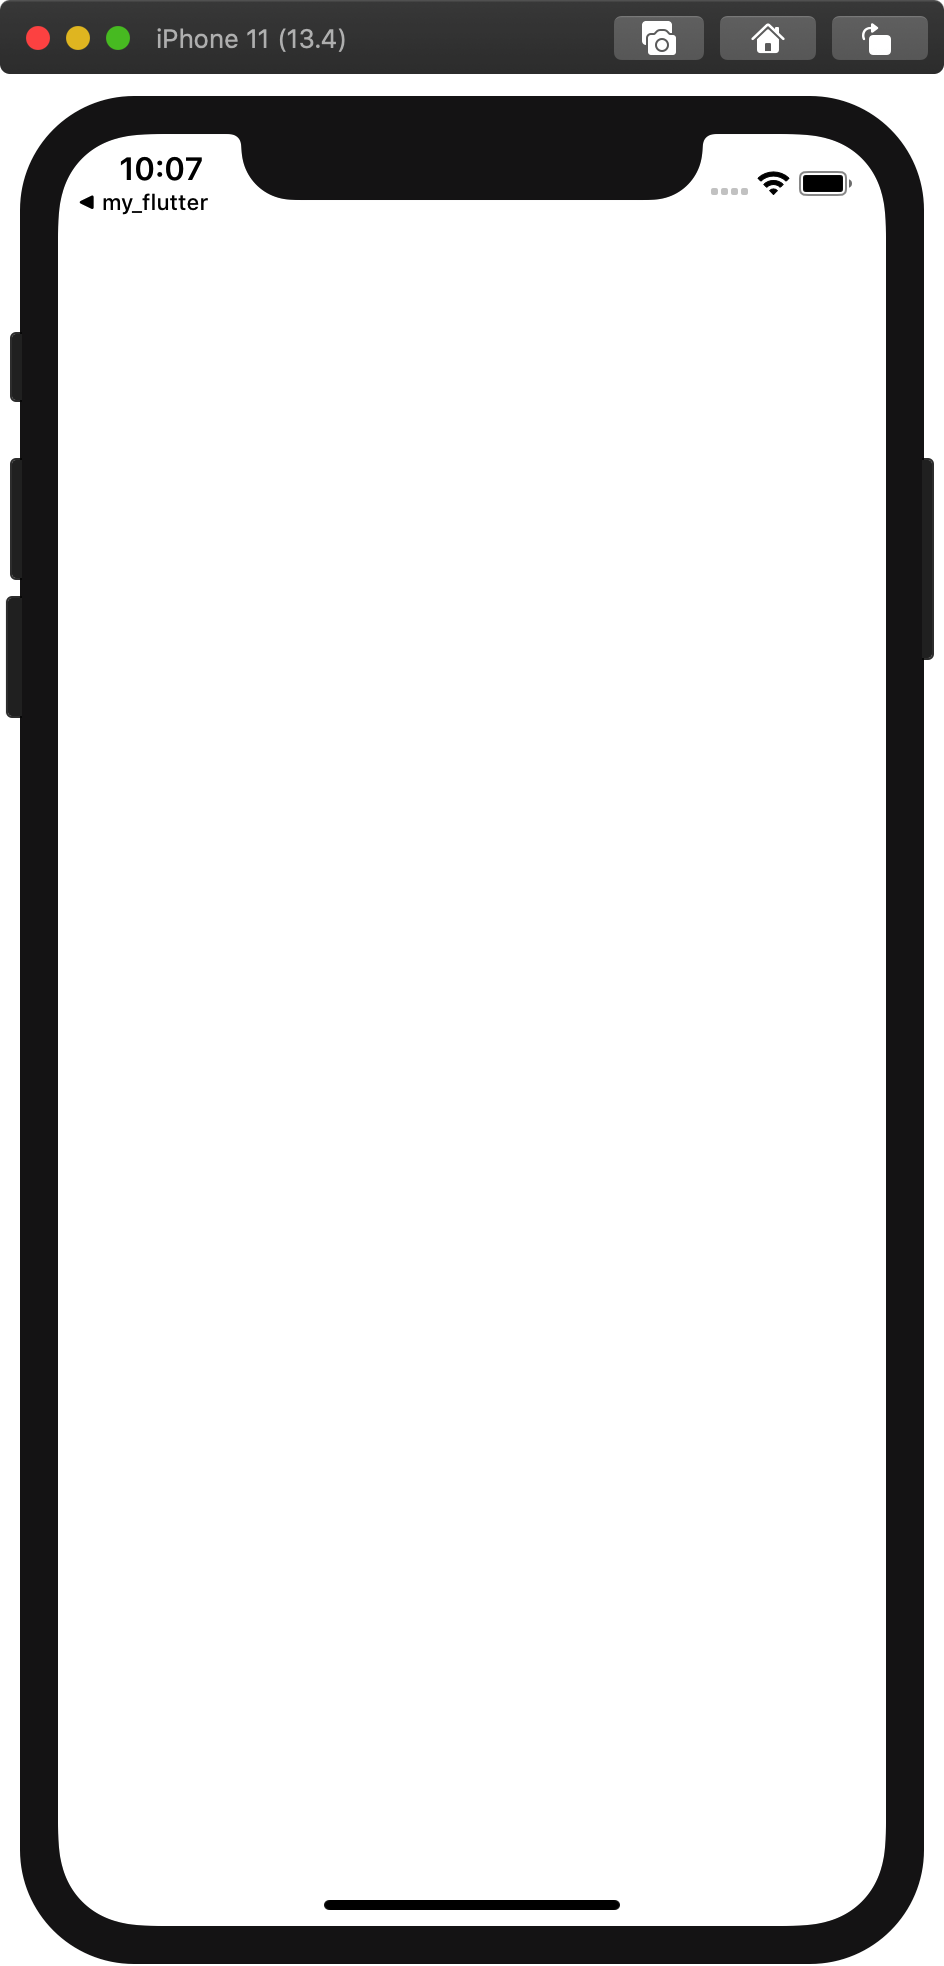
打開iOS Project, 嘗試run 看看是否正常
iOS端一開始正常是空白的
# 2.2 在 Xcode 中集成 frameworks
flutter build ios-framework

some/path/MyApp/
└── Flutter/
    ├── Debug/
    │   ├── Flutter.framework
    │   ├── App.framework
    │   ├── FlutterPluginRegistrant.framework (only if you have plugins with iOS platform code)
    │   └── example_plugin.framework (each plugin is a separate framework)
    ├── Profile/
    │   ├── Flutter.framework
    │   ├── App.framework
    │   ├── FlutterPluginRegistrant.framework
    │   └── example_plugin.framework
    └── Release/
        ├── Flutter.framework
        ├── App.framework
        ├── FlutterPluginRegistrant.framework
        └── example_plugin.framework
會生成三組framework, 分別是 Debug Profile Release
因為framework 原本分開了Profile 和 Release,有兩個解決方式
- 將
Profile和Release合併成一個framework - 在Xcode 有兩個config setting
現在嘗試用第二種方式
參考: https://www.appcoda.com.tw/using-xcode-targets/
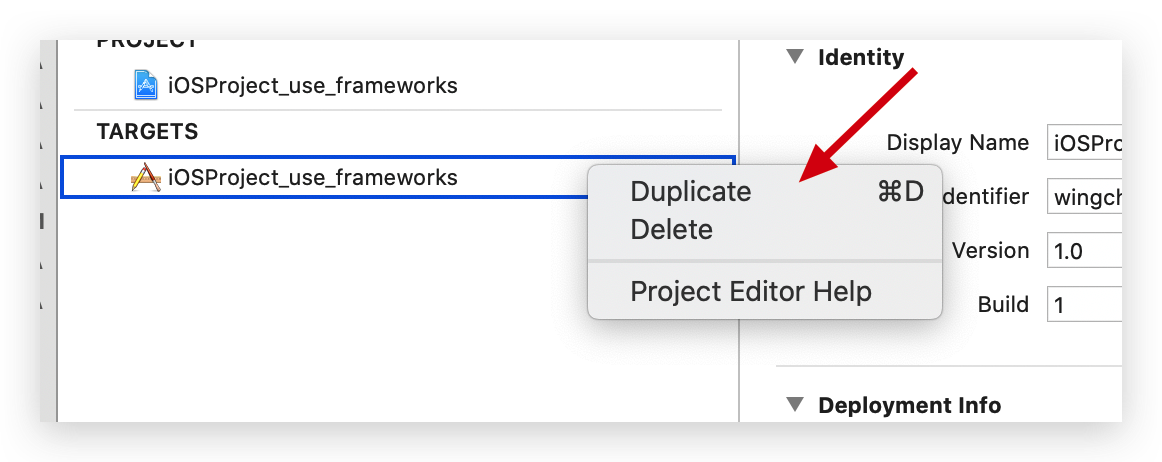
設定成同名
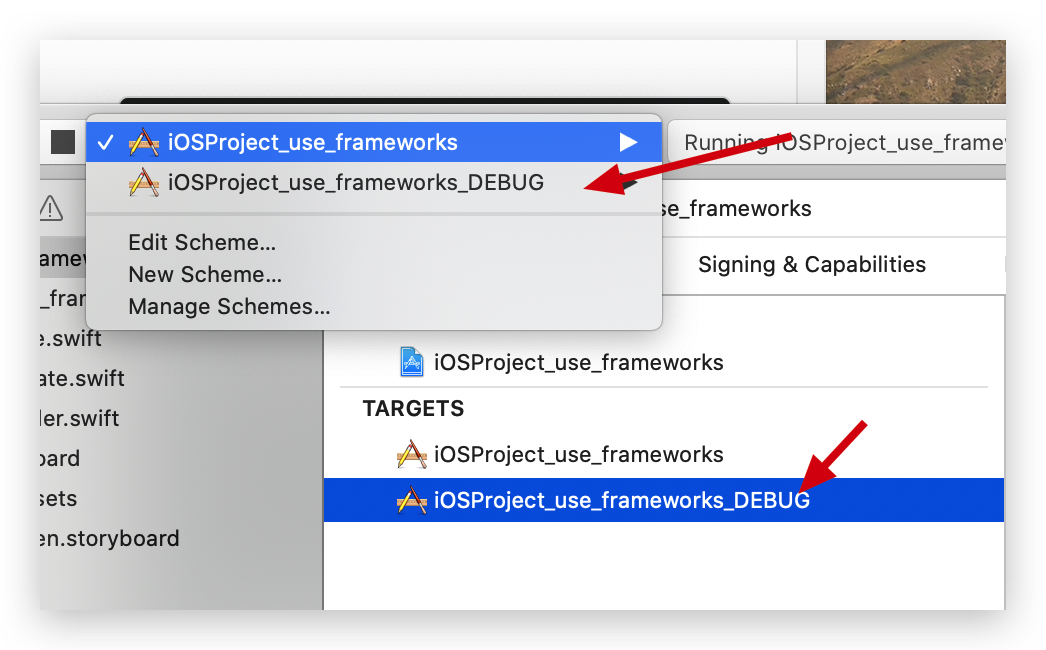
iOSProject_use_frameworks 使用 Release
iOSProject_use_frameworks_DEBUG 使用 Profile
# Release setup
拉入去
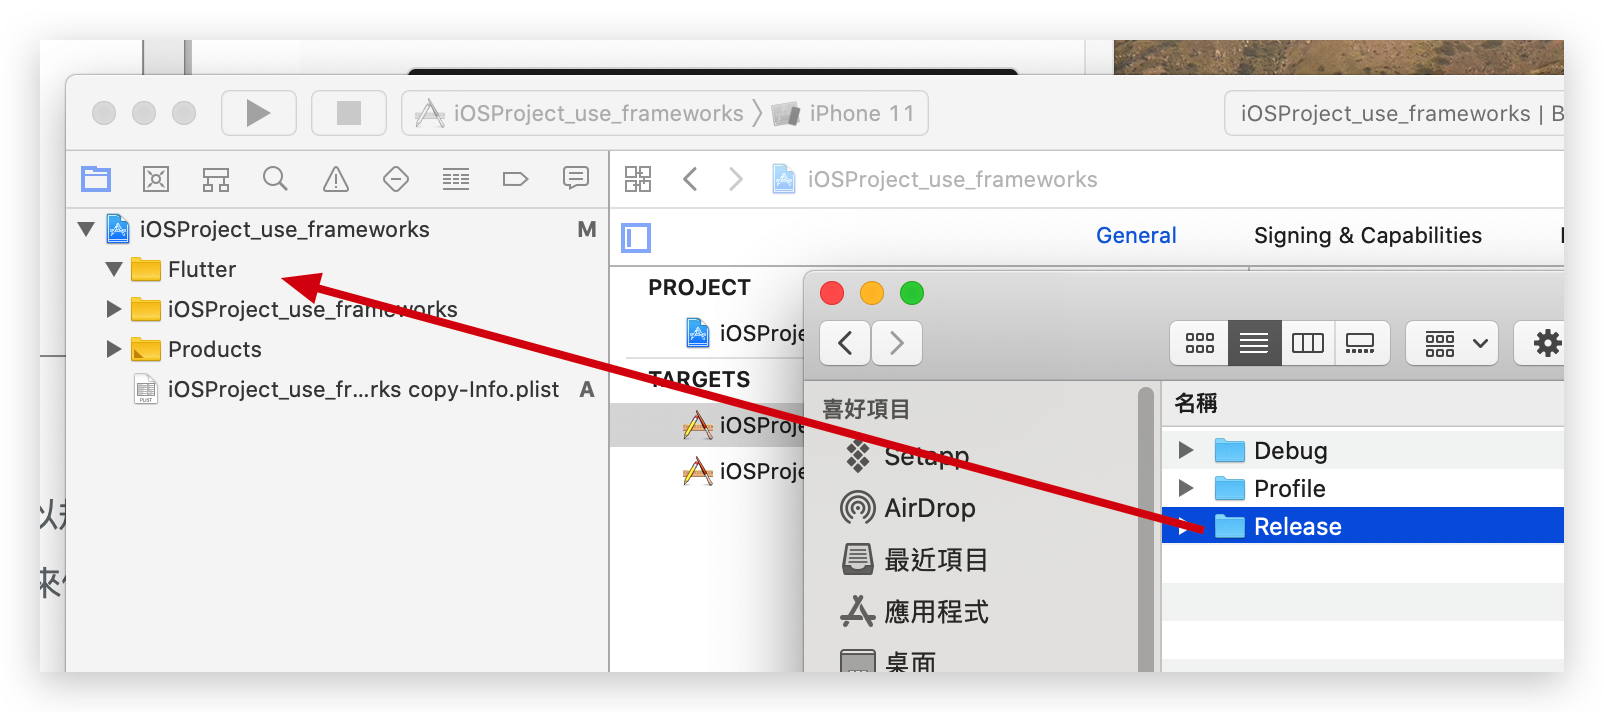
選擇targets iOSProject_use_frameworks
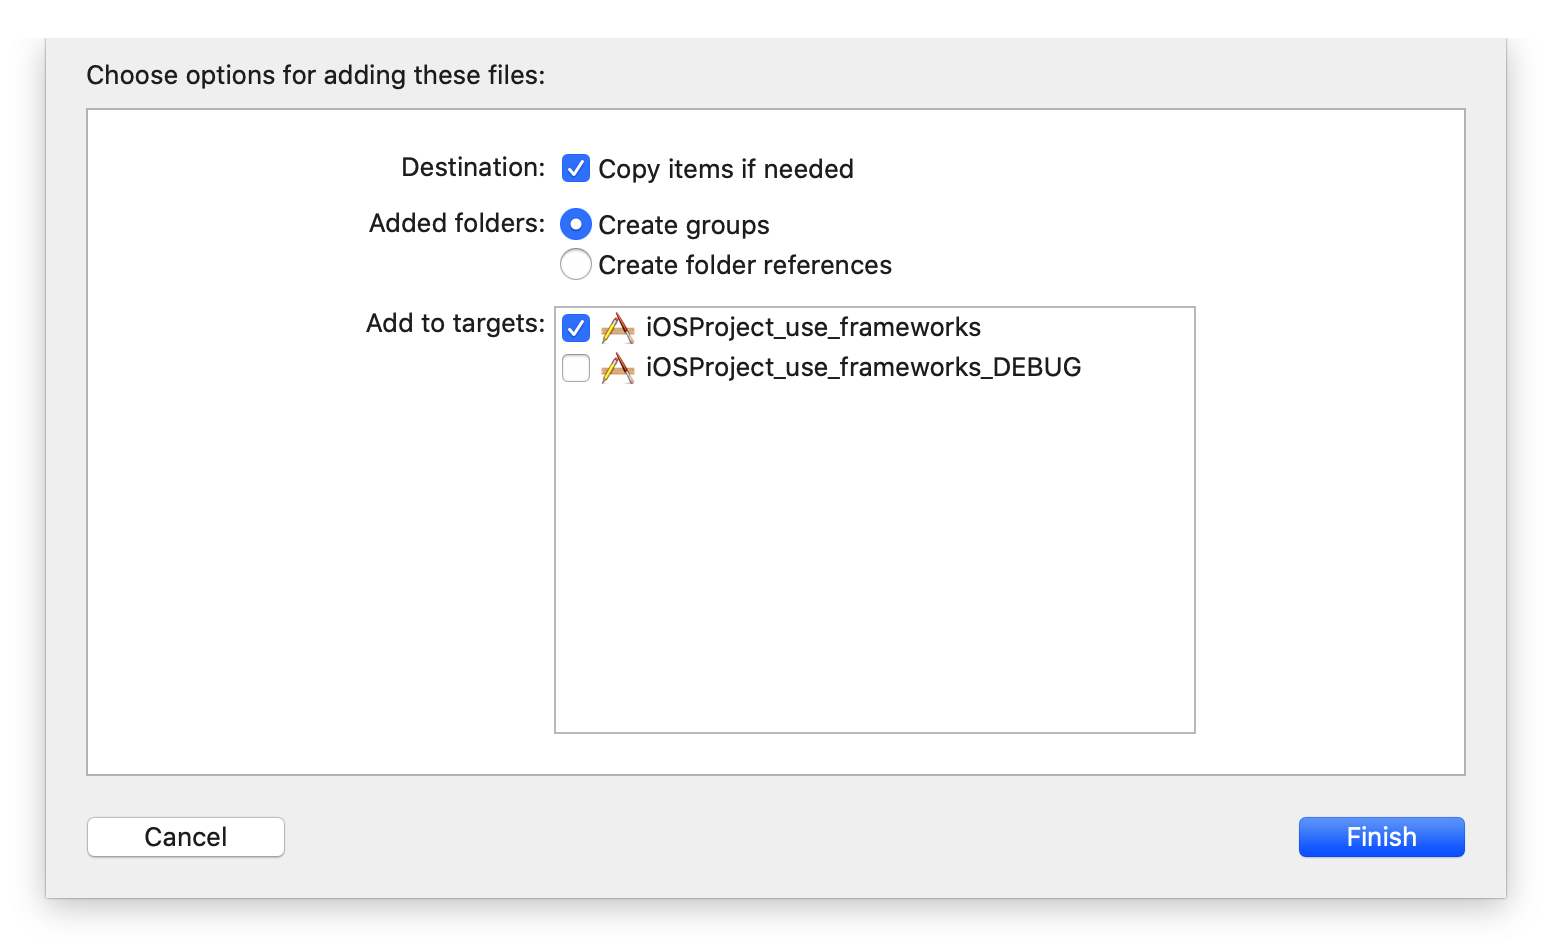
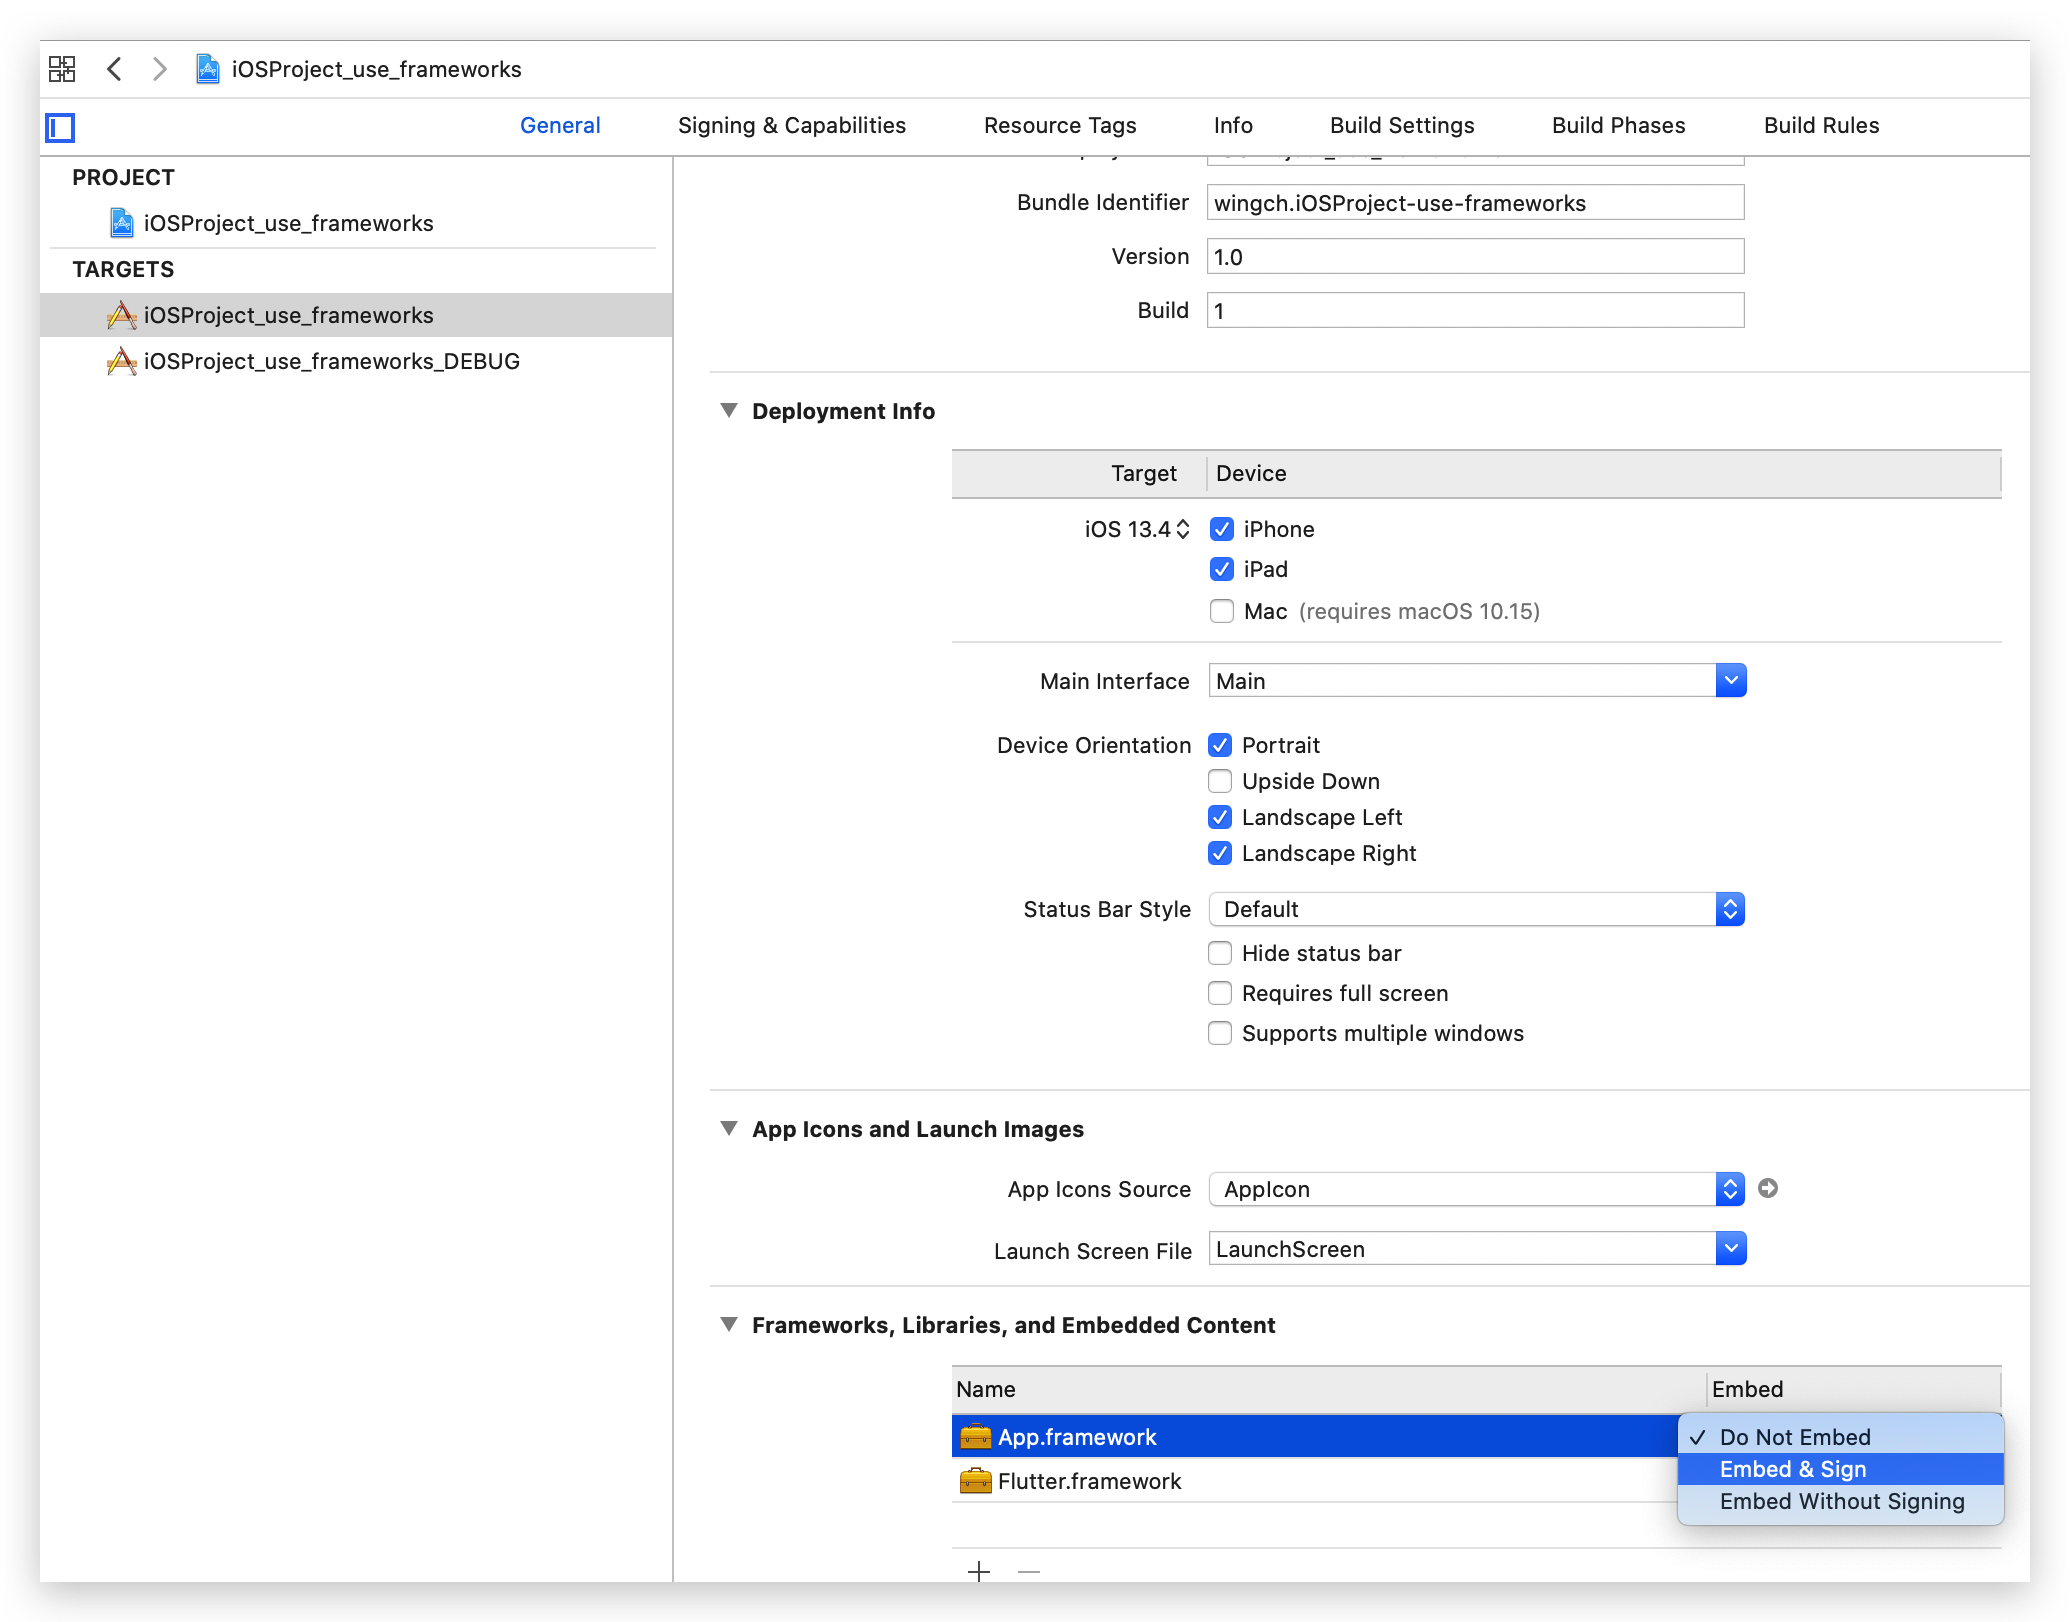
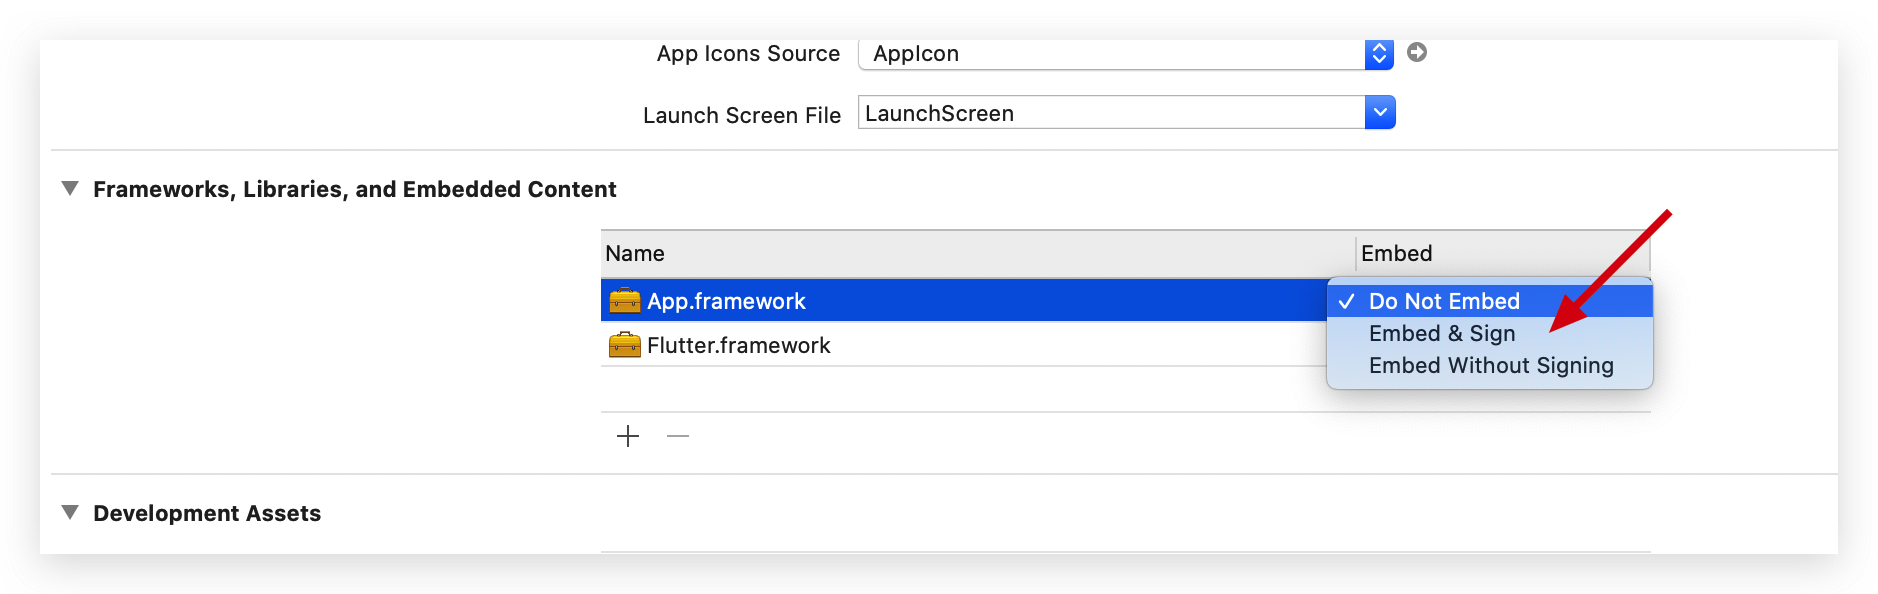
設定 Embed & Sign
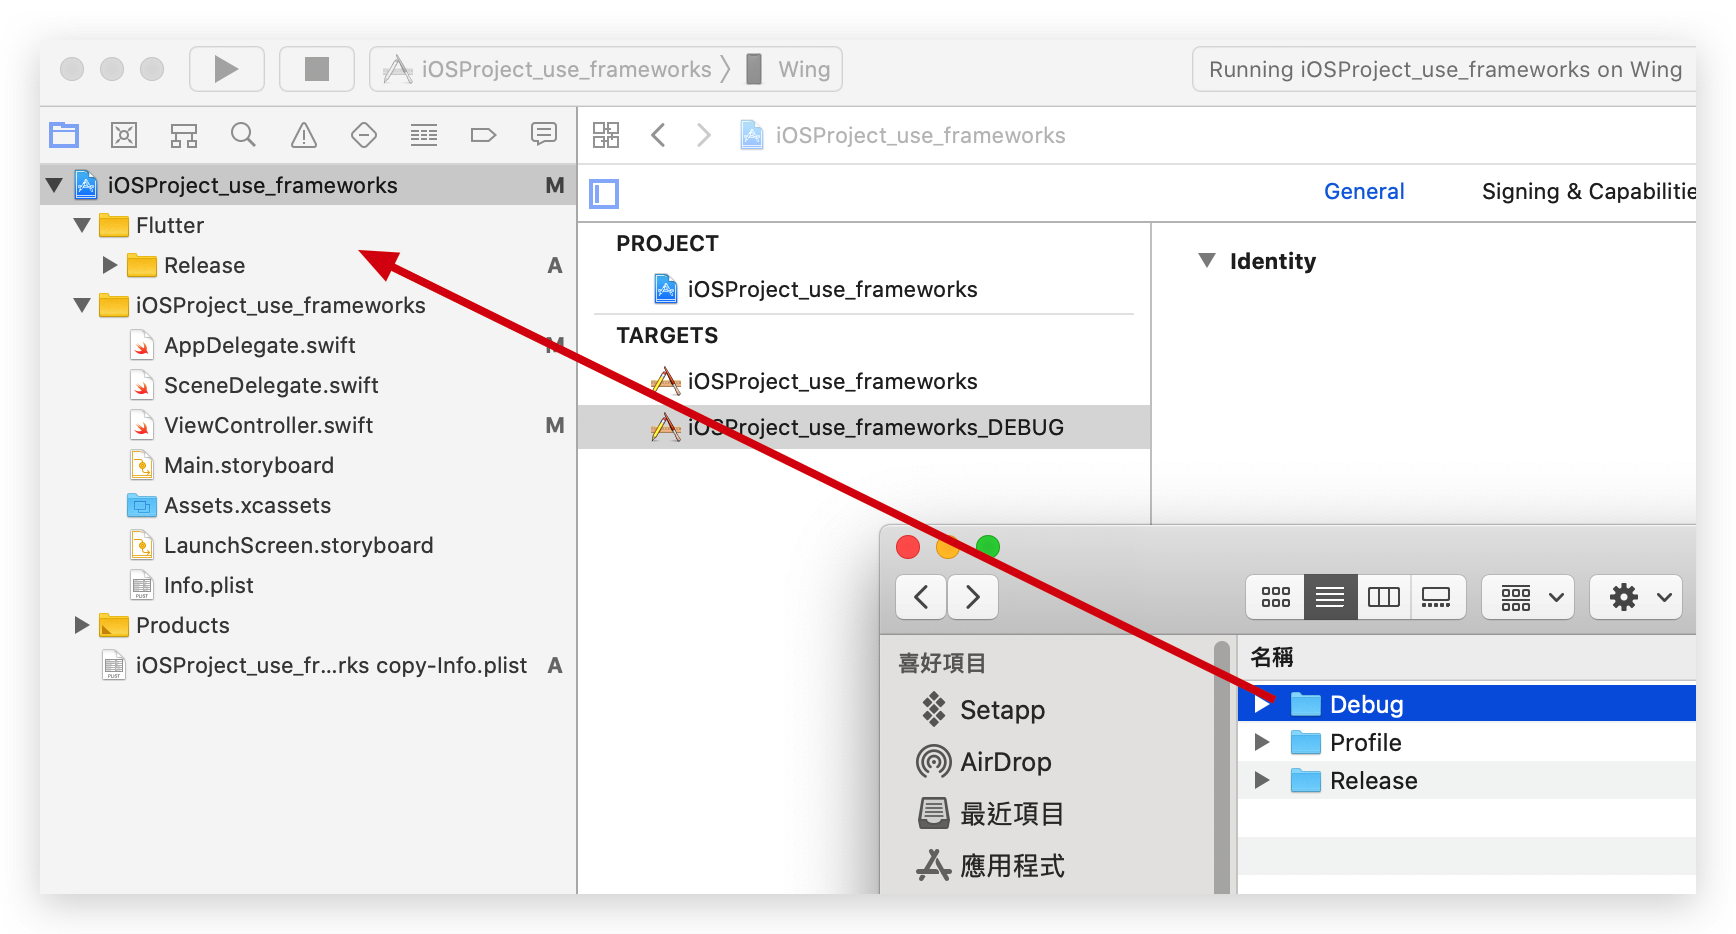
# Profile setup
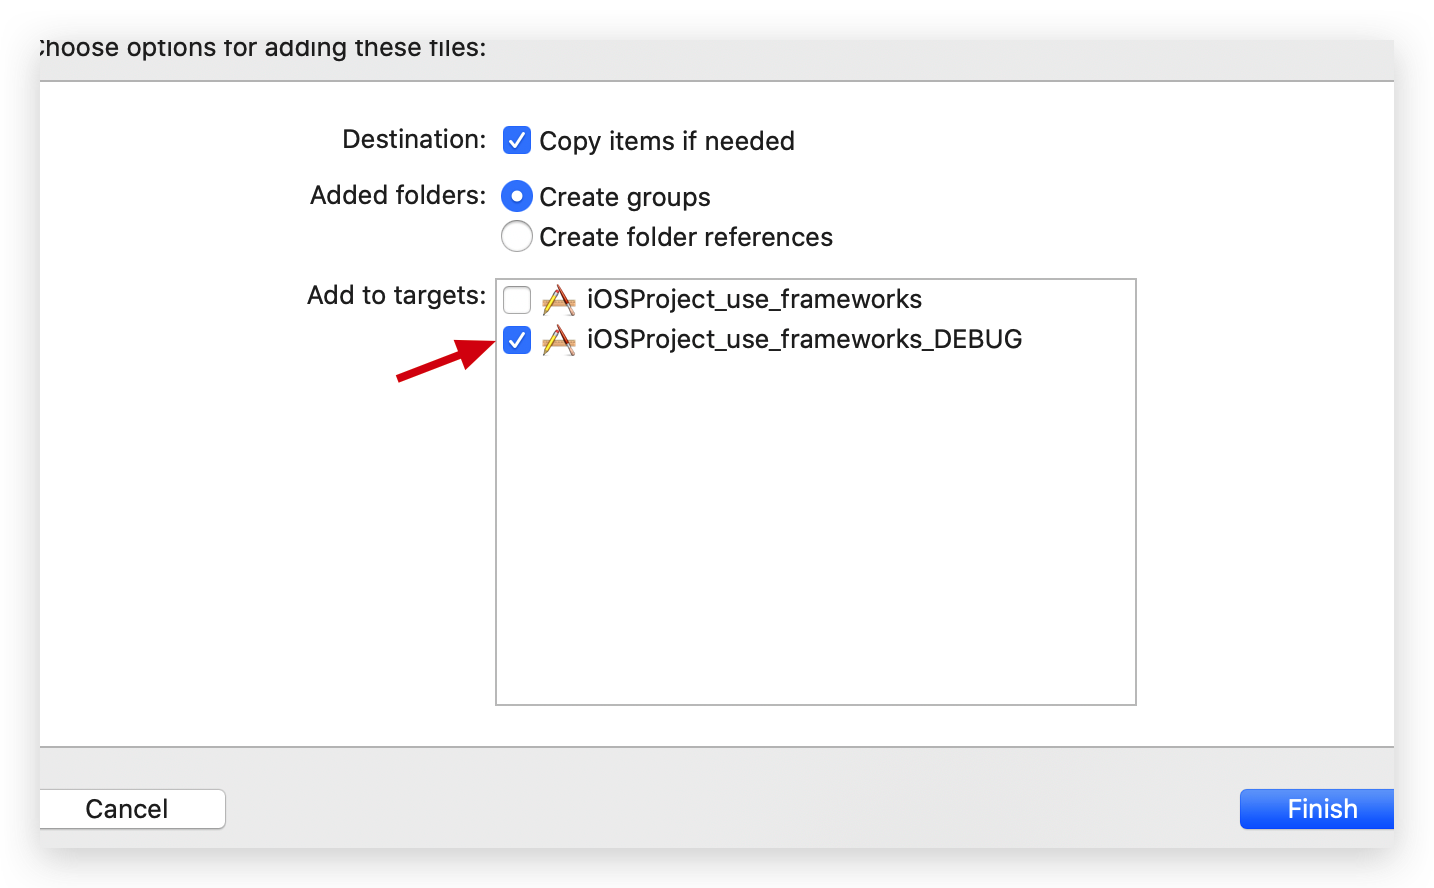
拉入去
上述步驟已完成官方教學 选项 B - 在 Xcode 中集成 frameworks (opens new window), 链接到框架 和 内嵌框架 等設定.
# 在原生App添加一个 Flutter 页面 (opens new window)
根據官方教學 (opens new window), 修改
AppDelegate.swift將
class AppDelegate: UIResponder, UIApplicationDelegate換成FlutterAppDelegate,其實可以不換,參考官方sample (opens new window).
好神奇地官方教學 (opens new window)同官方sample (opens new window)係不一致...
import UIKit
import Flutter
// 如果在flutter module無用plugin可忽略
//import FlutterPluginRegistrant

@UIApplicationMain
class AppDelegate: FlutterAppDelegate { // More on the FlutterAppDelegate.
  lazy var flutterEngine = FlutterEngine(name: "my flutter engine")

  override func application(_ application: UIApplication, didFinishLaunchingWithOptions launchOptions: [UIApplication.LaunchOptionsKey: Any]?) -> Bool {
    // Runs the default Dart entrypoint with a default Flutter route.
    flutterEngine.run();
    //如果在flutter module無用plugin可忽略
    // GeneratedPluginRegistrant.register(with: self.flutterEngine);
    return super.application(application, didFinishLaunchingWithOptions: launchOptions);
  }
}
以上是讓flutter端在一開始是預熱(preload), 保持之後能更快使用
官方説明:
Dart VM 启动后永远不会关闭
FlutterEngine充当 Dart VM 和 Flutter 运行时的主机;FlutterViewController依附于FlutterEngine,给 Flutter 传递 UIKit 的输入事件,并展示被FlutterEngine渲染的每一帧画面。
FlutterEngine的寿命可能与FlutterViewController相同,也可能超过FlutterViewController。通常建议为您的应用预热一个“长寿”的
FlutterEngine是因为:
- 当展示
FlutterViewController时,第一帧画面将会更快展现;- 你的 Flutter 和 Dart 状态将比一个
FlutterViewController存活更久;- 在展示 UI 前,你的应用和 plugins 可以与 Flutter 和 Dart 逻辑交互。
接下來修改ViewController.swift
import UIKit
import Flutter

class ViewController: UIViewController {

    override func viewDidLoad() {
        super.viewDidLoad()
          // Make a button to call the showFlutter function when pressed.
          let button = UIButton(type:UIButton.ButtonType.custom)
          button.addTarget(self, action: #selector(showFlutter), for: .touchUpInside)
          button.setTitle("Show Flutter!", for: UIControl.State.normal)
          button.frame = CGRect(x: 80.0, y: 210.0, width: 160.0, height: 40.0)
          button.backgroundColor = UIColor.blue
          self.view.addSubview(button)
        }

        @objc func showFlutter() {
          let flutterEngine = (UIApplication.shared.delegate as! AppDelegate).flutterEngine
          let flutterViewController =
              FlutterViewController(engine: flutterEngine, nibName: nil, bundle: nil)
          present(flutterViewController, animated: true, completion: nil)
        }

}
效果: 在iOS端調用出flutter端
# 交互
參考官方sample
flutter端: samples/add_to_app/flutter_module (opens new window)
效果: 在iOS端和flutter端數據互通
# Qustion
# Use methodChannel without pre warm engine
        let flutterViewController = FlutterViewController(project: nil, initialRoute: "/mini", nibName: nil, bundle: nil)
        methodChannel = FlutterMethodChannel(
            name: "dev.flutter.example/counter",
            binaryMessenger: flutterViewController.binaryMessenger //flutterViewController can get binaryMessenger
        )

        methodChannel?.setMethodCallHandler({ [weak self]
            (call: FlutterMethodCall, result: @escaping FlutterResult) -> Void in
            if let strongSelf = self {
                switch(call.method) {
                case "incrementCounter":
                    strongSelf.count += 1
                    strongSelf.counterLabel.text = "Current counter: \(strongSelf.count)"
                    strongSelf.reportCounter()
                case "requestCounter":
                    strongSelf.reportCounter()
                default:
                    // Unrecognized method name
                    print("Unrecognized method name: \(call.method)")
                }
            }
        })

        present(flutterViewController, animated: true, completion: nil)
# Pop flutterViewController
ref: https://github.com/flutter/samples/blob/3d943d7d460527d0c69b94b33de97841de027832/add_to_app/flutter_module/lib/main.dart#L150
SystemNavigator.pop(animated: true)